在了解stable diffusion是怎么加载模型,并用线稿图转效果的,先要了解三个网站:
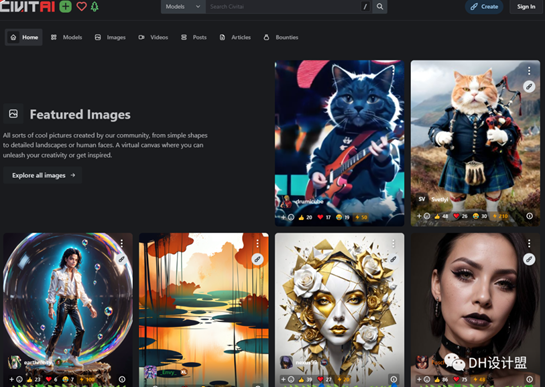
世界第一模型网:C站,civital
世界第二模型网:拥抱脸,hugging face
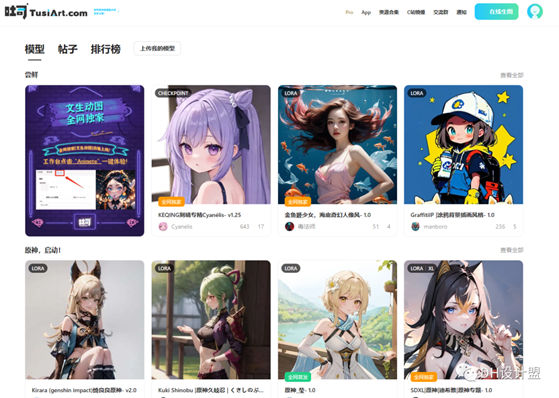
世界第三模型网,T站,吐司

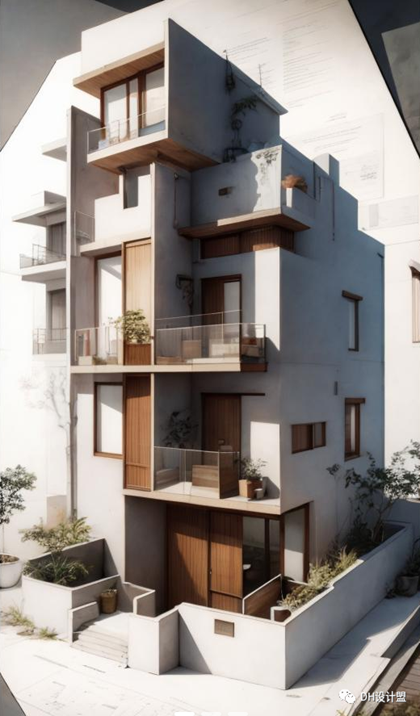
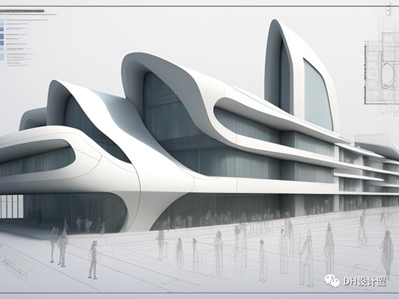
首先看一下成果:这是一个白膜图,当然你手绘也可以,以下以专业的景观设计方向为参考:

然后两秒出图:
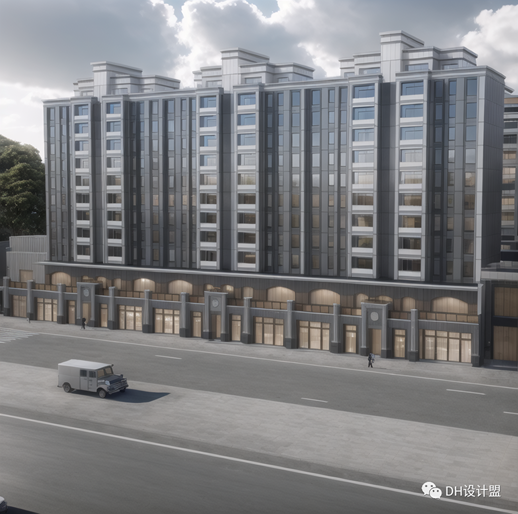
当然这里还没有怎么调节VAE,多次尝试滤镜将达到更好的效果。
这里将以世界三大模型网站的资源进行部分展示:
建筑领域:
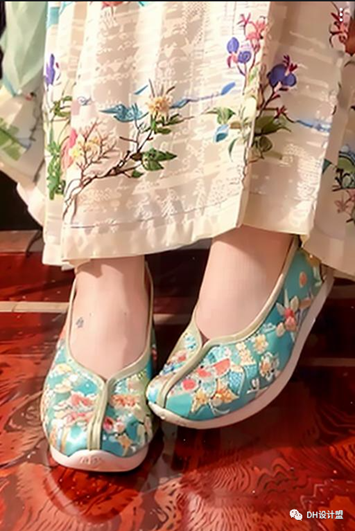
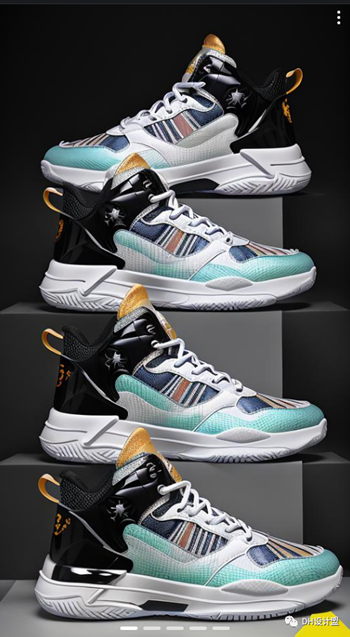
鞋子领域:
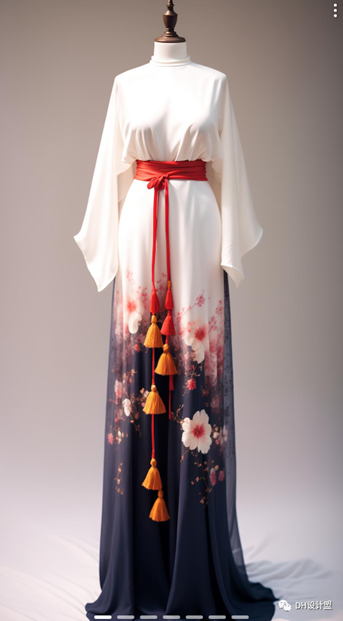
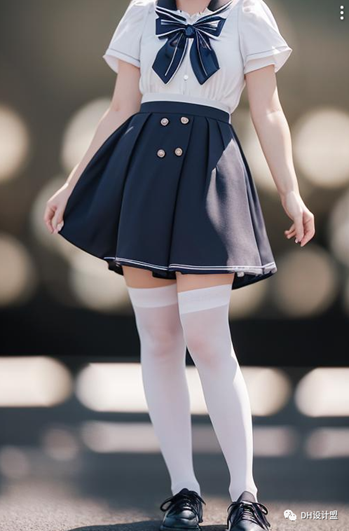
衣服领域:
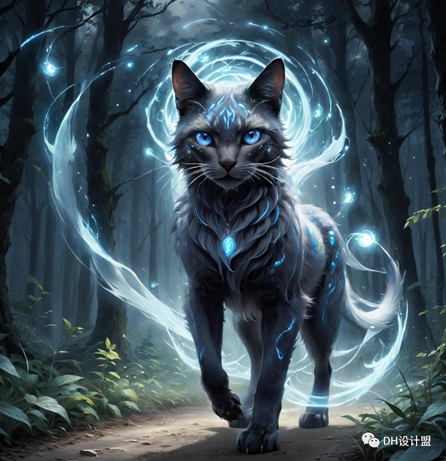
神奇领域:

等等,这些都是很多的模型,为什么要有这种模型呢,因为stable diffusion会根据这些基础模型来生成相似的图片。
进入正题:

在sd的左上角我们看到秋叶包中加载的暂时只有一个anything的模型,这是一个大体模型,就是很多风格集中在一起的模型,不论是景观、建筑、动漫人物还是什么,但是当你需要出独特的风格图时候就需要更优化的模型,你可以自己训练模型,也可以先去下载别人做好的模型,新手建议先从白嫖学起。
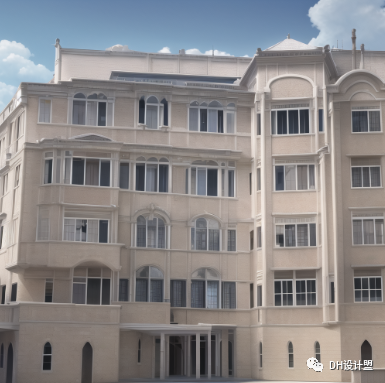
这里以anything和architecturerealmix(一个建筑模型)为例子进行出建筑图,前提是各种参数一样,提示词一致:


anything:
architecturerealmix:
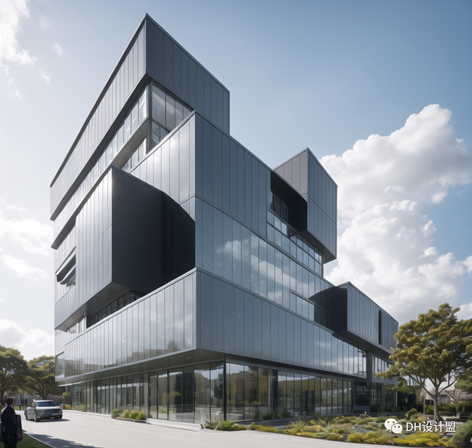
我们发现,特定的模型生成特定的风格会更好一些,这就是我们为什么去下载模型或者自己训练模型的原因。
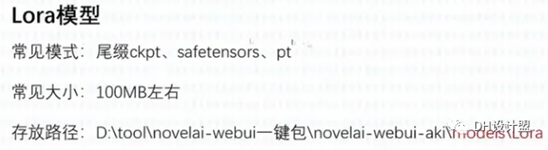
模型类型:
我们要知道现在的集中主要流行模型。
1、

可以叫做大模型,也就是开篇左上角介绍的那个anything和architecturerealmix都是大模型。
2、
微调模型,这个对于整体影响比较轻微,但是我们需要有一些细节调节的话可以用这个。比如一个模型男孩看不出来是谁,你下载个柯南的模型,生成的就是柯南的图了。
3、
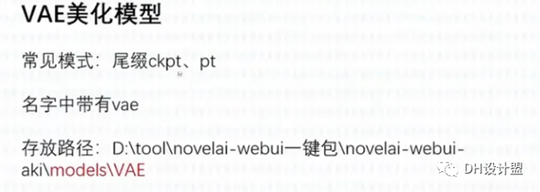
也可以叫做滤镜模型,就是说可以让你的图更为出彩。
4、
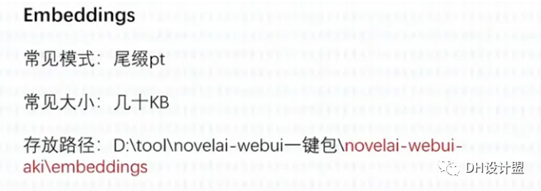
可以叫做训练模型,别的模型是训练好了的,这个是用来反向训练的,这个内容将之后做另外讲解。
此外,【5】DreamBooth模型、【6】LyCORIS模型都是与训练有关,这些将之后进行讲解。
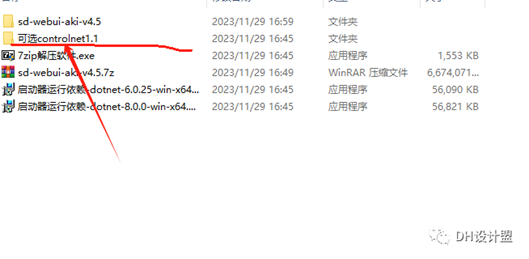
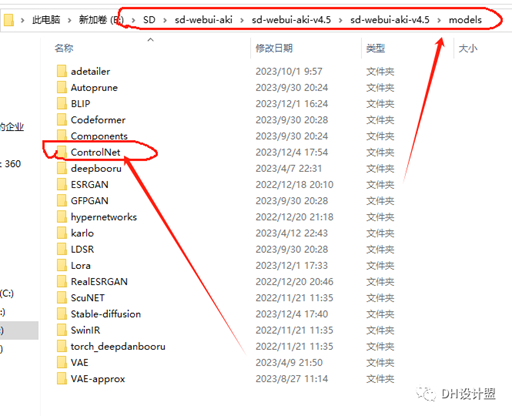
安装路径:
上面小编有存放路径,也就是你从模型网下载好了模型之后,直接拖到上述存放路径的位置就好。这里以architecturerealmix为例子。
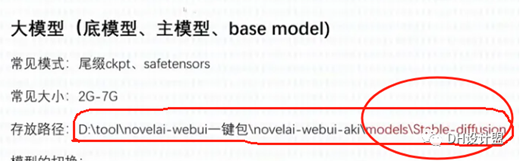
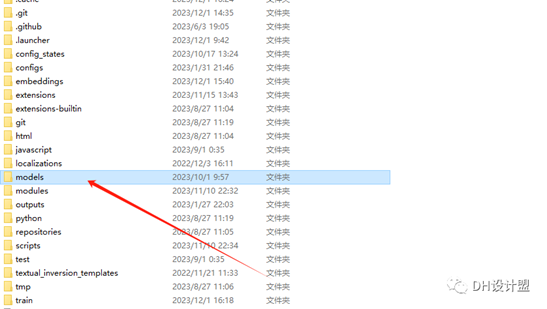
models
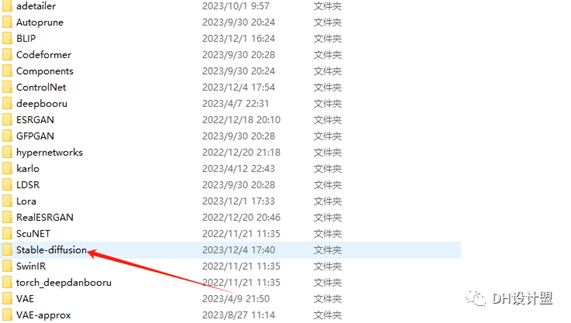
stable diffusion
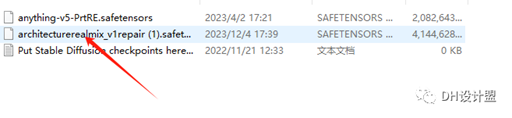
粘贴下载好的模型architecturerealmix
之后重启sd-webui
这样就可以加载模型了。
加载好之后呢我们需要去往下寻找一个controlNet的插件打开之后就可以放入线稿图。

这里面小编用的是线稿
然后上文的那个图就是生成的。
这里有个参数需要注意一下。
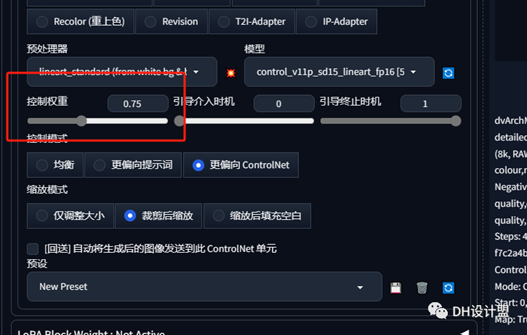
控制权重,越大与原模型越像,越小想象力越大。新手建议0.7——0.75左右。
右面有个也有个controlNet模型,这个是源文件给大家里面带着的也需要大家自己安装一下:
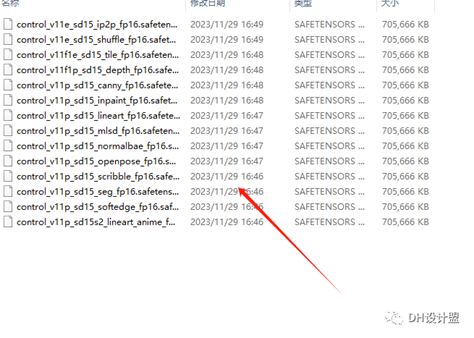
全部复制
复制到这个文件夹内。
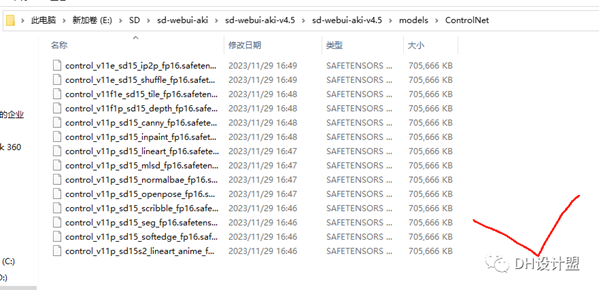
这样子再重启模型就可以啦。
之后就要用线稿转模型的时候记住要点击启用controlNet哦。

出自:https://mp.weixin.qq.com/s/LZ25Ofl05iBVup6NLrg8yw